Electrical work is probably the most delicate to carry out, whether during new construction or renovation. Considered dangerous due to the risks of short circuits or fires, this task is often entrusted to electricians. However, in the age of “Do-It-Yourself,” many individuals want to master the installation of electricity and home automation in their homes. They are sometimes driven by a strong thirst for knowledge, a quest for autonomy, or even a desire to save money. Do you also want to carry out your electrical or home automation work without hiring a professional? Nothing prevents you from doing so, as long as the applicable standards are respected. To guarantee the safety of your home, it is therefore crucial to ask the right questions and follow the necessary steps precisely. Novices should not attempt this task alone, but solutions exist to get help. In this guide, you will find the steps to follow to do your own electrical installation.
Steps to follow to carry out your own electrical work
Doing your own electrical installation leaves no room for improvisation, but if you are sure of yourself and your skills in this area, you will need to follow several steps in your electrical work
Is it possible to install your own electrical system?
A domestic electrical circuit must comply with a number of standards to guarantee the safety of the occupants and prevent the risks of short circuits, fires, or electrocution. To be able to carry out the work correctly from start to finish, electrical installation requires at least a basic understanding. Kit solutions are beginning to appear on the market, allowing DIY enthusiasts to complete these installations with minimal prior knowledge. These kits simplify the implementation of the electrical project by providing pre-assembled components, eliminating the need to handle the more complex aspects. Clear instructions and step-by-step video tutorials, as well as technical support from an expert, are provided to help users master the entire process themselves. However, if you have any doubts, do not hesitate to call a professional electrician to ensure a safe installation.
Electrical diagram-How to draw up an electrical plan for a house?
Drawing up an electrical plan allows you to anticipate the electrical needs of your home. Creating this plan involves taking a floor plan of your house and precisely placing each room’s electrical circuits on it.
- the necessary switches;
- the lighting;
- electrical outlets;
- network, television, and telephone sockets;
- the sockets for specialized appliances (refrigerator, washing machine, dryer, dishwasher, cooktop, oven);
- the heating system (radiators, water heater, boiler, storage tank);
- the system specific to wet rooms and ventilation (VMC);
- installations such as smoke detectors, air conditioning, roller shutters, home automation, alarm systems;
- outdoor installations, such as automatic gate opening, pool heating,g or garden lighting;
- The wiring circuitThehe location of the electrical panel, and any appropriate protective devices.
A large number of electrical diagram software programs exist to make the task easier.
How to carry out electrical installation work step by step?
Once the complete electrical diagram is drawn up, the electrical installation proceeds by following specific steps:
- The first step is the structural work, that is to say, the opening of grooves in the walls for the passage of the conduits, which will protect the electrical cable.;
- The second step is to install the electrical cables. As a reminder, electrical cables consist of one or more conductor wires insulated from each other, which must be chosen according to their use and placed in the conduits before installation to facilitate the work;
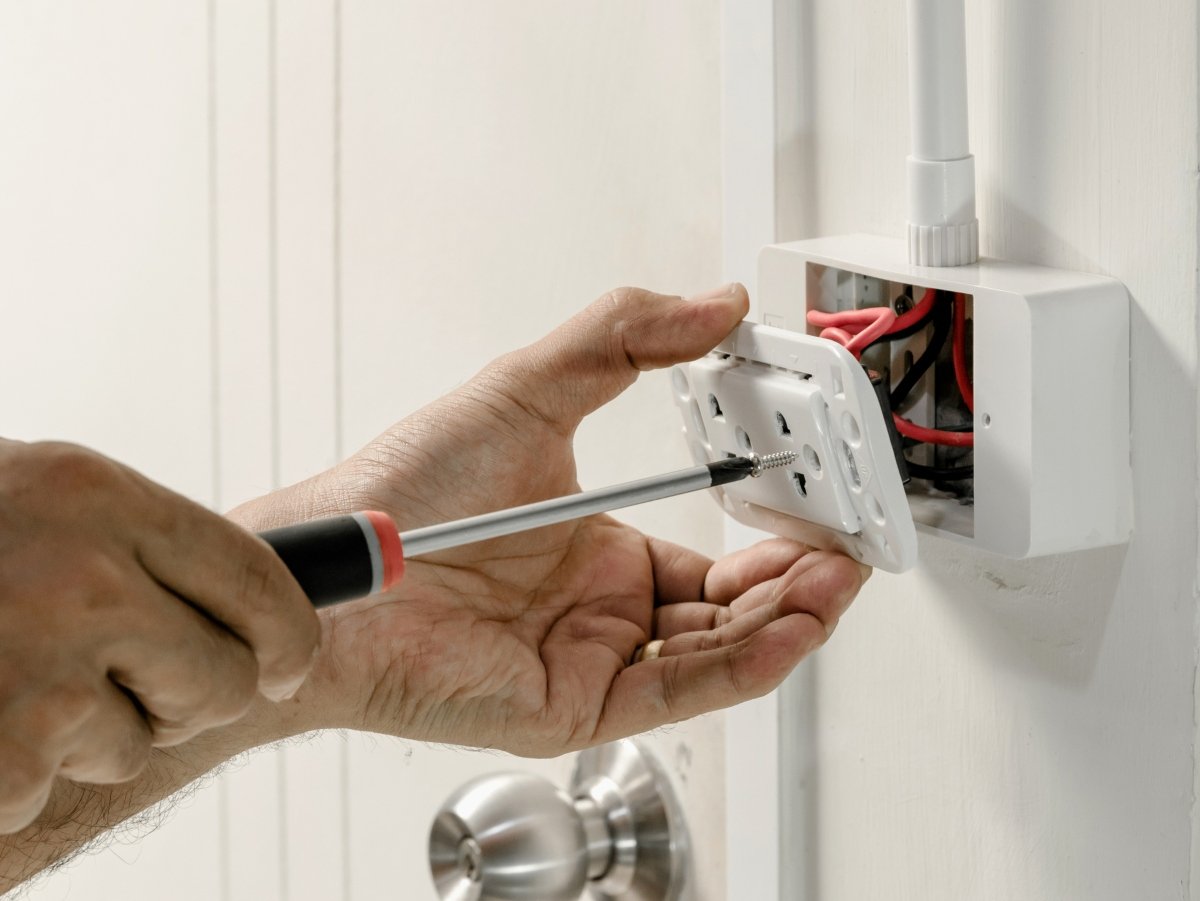
- The third step is the installation of junction boxes, recessed boxes a, nd electrical octopuses, which are used to position and fix the various elements, such as power outlets and switches;
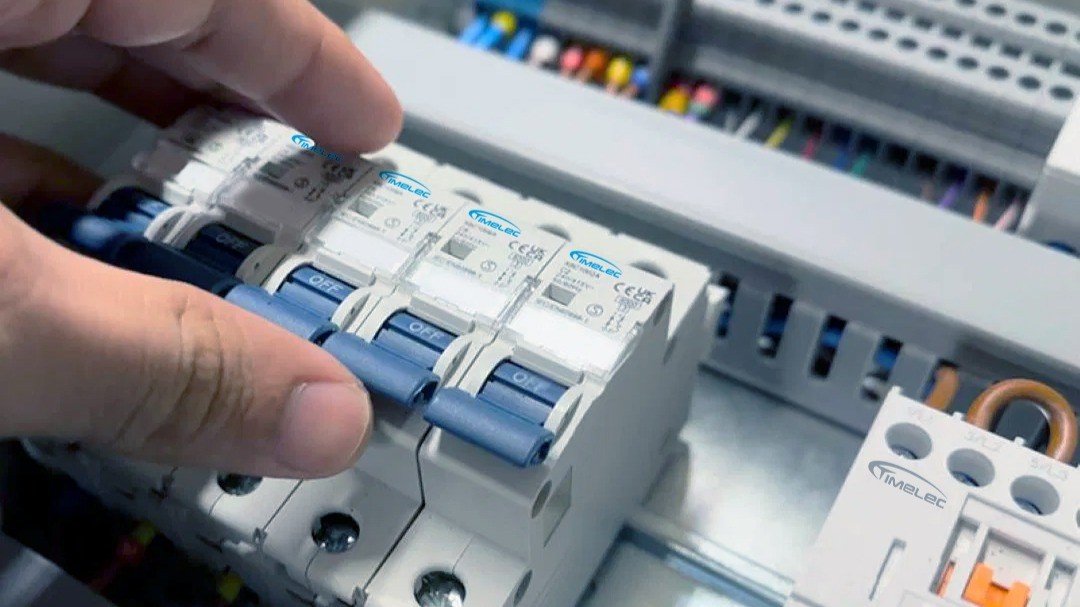
- The fourth step involves installing the electrical box, also called the distribution panel.
- The fifth step involves connecting all the equipment to the safety devices in the panel by placing the neutral, phase, and earth wires in the appropriate terminals and then identifying each of the electrical circuits using names or pictograms.
The advantages of doing your own electrical installation without an electrician
Doing your own electrical installation has many advantages. Besides significant savings on labor and a reduction in expenses of up to 50%, this solution allows you to identify and analyze all the techniques and make the best decisions for your installation. Mastering a “custom” installation, done by yourself, not only brings great satisfaction but also offers opportunities for future modifications and improvements based on your needs. However, it is crucial to carefully analyze and assess the necessary skills, the complexity of the project, essential safety measures, and compliance with current standards to avoid unnecessarily endangering yourself in the pursuit of savings.
Electrical compliance standards to be met in Belgium
In Belgium, electrical compliance standards have been governed by the General Regulations for Electrical Installations ( RGIE) since 1981 in toevent domestic accidents. These regulations mandate:
- an electrical panel more than 1.5 m from the ground;
- metallic installations, such as heating, which must be connected to the earth terminal via a residual current device;
- a general installation with a minimum of two electrical circuits. A so-called “classic” circuit, with a maximum of 8 output points, for chargers and lighting, and a “specialized” circuit for household appliances or central heating;
- An installation of the lighting circuit which passes through a 16 A circuit breaker or a 10 A fuse, while using 1.5 mm² wires;
- electrical socket outlets located more than 15 cm from the ground;
- a 30 A residual current circuit breaker installed in the bathroom;
- an electrical panel equipped with a fuse circuit breaker;
- the use of rigid and insulated copper wires, which must comply with the classic color code of electricity (the neutral wire in blue, the earth in green striped with yellow, and the phase generally darker, red, brown, or black);
- conduits, recessed boxes, and junction boxes that comply with CE standards.
The equipment needed to complete your electrical installation
A minimum of equipment is required to carry out an electrical installation, whether for a professional electrician or a private individual. This includes, for example:
- a set of flat and Phillips screwdrivers with insulated handles and blades;
- of a universal pair of pliers, a cuttingpair of pliers, a narrow-nose pair of pliers, and a wire stripper also equipped with insulated handles;
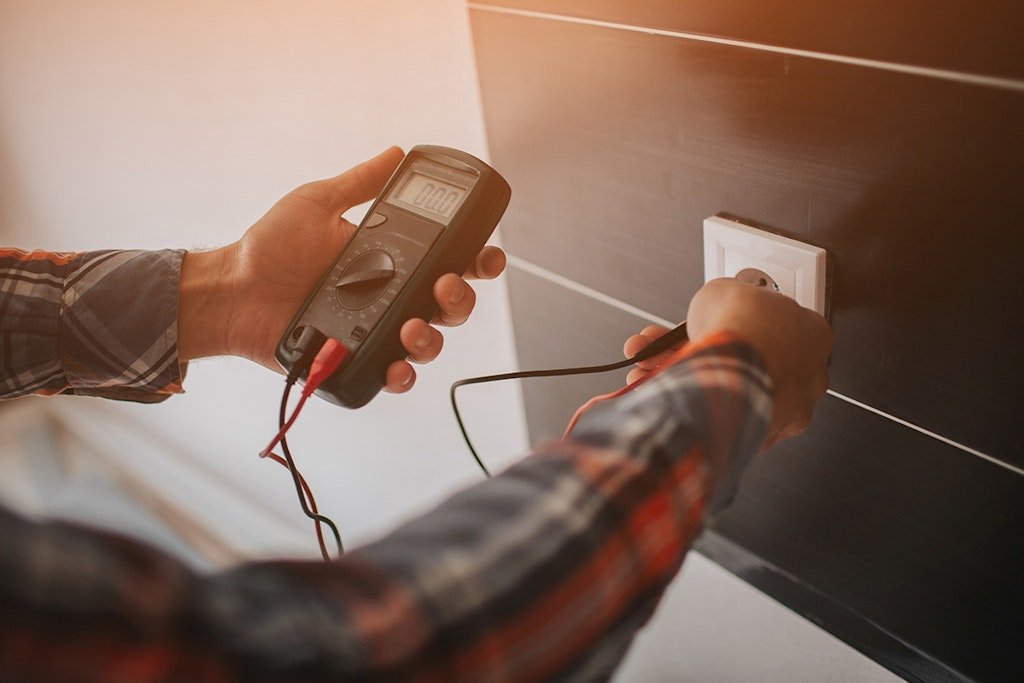
- of a Voltage Absence Tester, or VAT, to test for the absence of voltage;
- of a digital multimeter or universal tester, which combines a voltmeter, an ammeter,r and an ohmmeter in the same case;
- of an electrician’s knife and a draw knife;
- from an electric wire puller or an electrician’s fish tape;
- with a pair of scissors;
- of a hacksaw, a keyhole saw, aw and a hole saw;
- with a hammer and chisel;
- of a spirit level;
- one meter;
- with a mason’s pencil and an indelible marker;
- personal protective equipment, such as insulated gloves or a cap with an anti-UV visor.
It is important to remember that all electrical current must be switched off and that this check is crucial before any installation.
The price of DIY electrical systems
The cost of a DIY electrical installation is significantly lower than that of a professional electrician, as labor is the most expensive part of this type of work. The average budget allocated to electricity in a private home in Belgium ranges from €80 to €120 per square meter. On a €9,000 quote for a 100 m² house installed by a professional electrician, the cost of the necessary materials represents only 25% to 50% of the total bill. This is why DIY electrical work is more economical. Electrical kits and boxes, containing all the necessary equipment, some pre-assembled parts, and comprehensive tutorials, offer an intermediate solution, with prices ranging from €2,000 to €5,000 for the same surface area. Therefore, it’s essential to compare quotes and warranties to select the best option.
Electrical renovation-how to rewire your home?
Living in a house with outdated or non-compliant electrical wiring can be very dangerous. Electrical renovations are necessary to replace old equipment, but they often present a daunting challenge. Regardless of the project’s complexity, meticulous planning is essential. Indeed, you should expect to be without electricity for several days or even have to move out temporarily during the renovation. Refrigerators and freezers must be emptied, and it’s best not to begin this process in the middle of winter.
The first step is to conduct a diagnostic assessment to determine the scope of the work, then to prepare a plan detailing all the modifications. All components must be clearly indicated on the electrical diagram. After the power is switched off, the old wiring can be dismantled and removed, and replaced with newer equipment that meets safety standards. Finally, once the electrical system is operational, some masonry and painting work will be necessary to remove any traces of the construction.